Gitpod Integration (FREE)
- Introduced in GitLab 13.4.
- Feature flag removed in GitLab 13.8
With Gitpod you can describe your development environment as code to get fully set up, compiled, and tested development environments for any GitLab project. The development environments are not only automated but also prebuilt which means that Gitpod continuously builds your Git branches like a CI/CD server.
This means you don't have to wait for dependencies to be downloaded and builds to finish, you can start coding immediately. With Gitpod you can start coding instantly on any project, branch, and merge request from any device, at any time.
To use the GitLab Gitpod integration, it must be enabled for your GitLab instance. Users of:
- GitLab.com can use it immediately after it's enabled in their user settings.
- GitLab self-managed instances can use it after:
To learn more about Gitpod, see their features and documentation.
Enable Gitpod in your user settings
With the Gitpod integration enabled for your GitLab instance, to enable it for yourself:
- In the top-right corner, select your avatar.
- Select Preferences.
- Under Preferences, locate the Integrations section.
- Check the Enable Gitpod integration checkbox and select the Save changes button.
Configure a self-managed instance (FREE SELF)
For GitLab self-managed instances, a GitLab administrator needs to:
- Set up a Gitpod instance to integrate with GitLab. Refer to the Gitpod documentation to get your instance up and running.
- Enable it in GitLab:
- On the top bar, select Menu > {admin} Admin.
- In the left sidebar, select Settings > General.
- Expand the Gitpod configuration section.
- Check the Enable Gitpod integration checkbox.
- Add your Gitpod instance URL (for example,
https://gitpod.example.com). - Select the Save changes button.
Your users then need to enable it for themselves.
Launch Gitpod in GitLab
You can launch Gitpod directly from GitLab by clicking the Gitpod button from the Web IDE dropdown on the project page:

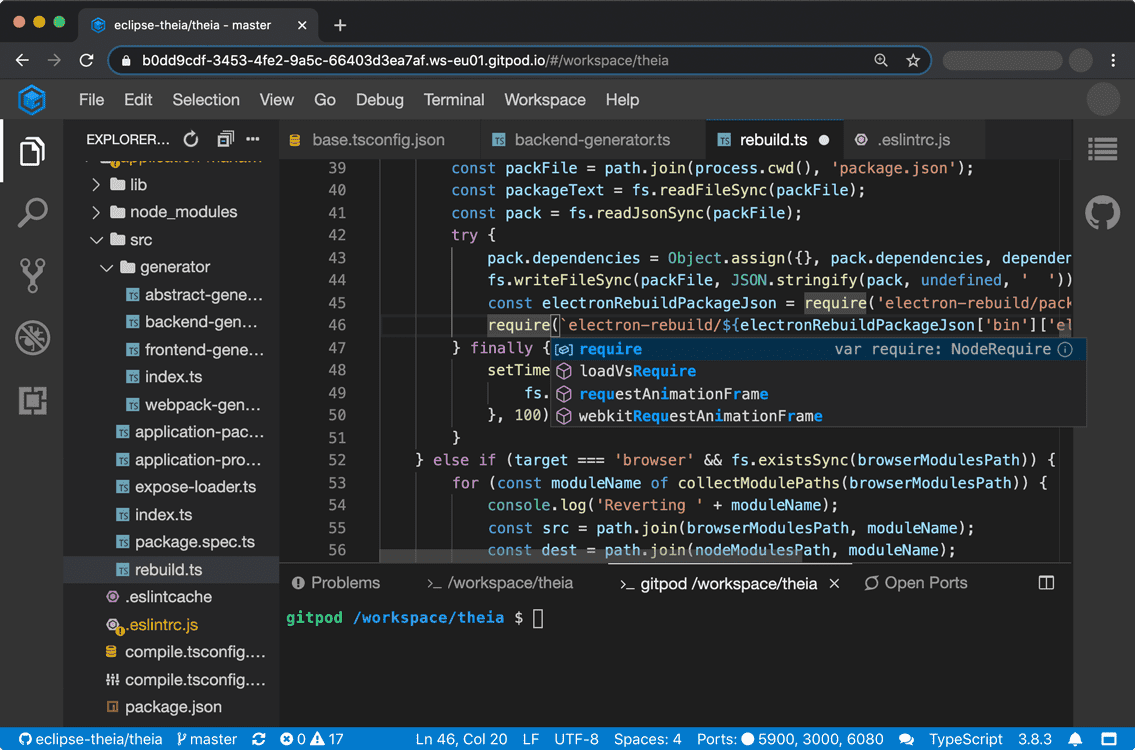
A project launched in GitLab looks like: